If you use AWeber for your email lists, then you’re going to love the power that AWtomator video events give you.
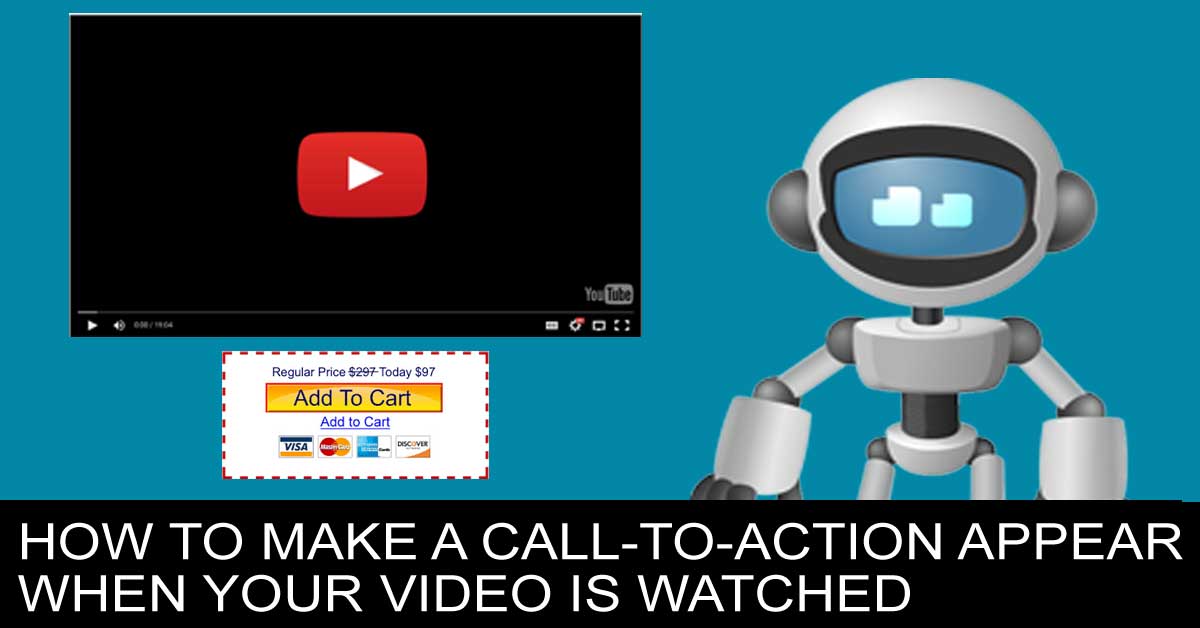
As well as allowing you to move/copy/tag a subscriber or start an AWeber Campaign, you can now also hide an element and make it re-appear when the video reaches a certain timestamp.
It’s really simple to set up… you simply set a special CSS class on the elements you want to hide/reveal and AWtomator does the rest!
(It even works with ClickFunnels data-title tags!)
So you could make a call-to-action message or buy button appear right on cue…
In this case, it will appear below when the video reaches 1 min 20 secs…
Boom, there you go…!
AWtomator video events work with YouTube, Wistia and Vimeo videos, and setup is as simple as dropping a line of code into your web page.
Enter your email below and get a free PDF tutorial on how this demo was set this up, as well as how you can use multiple video events to trigger segmentation or AWeber Campaigns depending on how much of the video they watch.
You can stack multiple video events on the same page to trigger segmentation or AWeber Campaigns depending on how much of the video they watch.
This demo, for example, uses two AWtomator events… one that fires after 5 seconds to trigger a ‘consumption reminder sequence’, and one that fires after 80 seconds to cancel that sequence and reveal the call to action.
If you are already on our email list, you’ll get sent a PDF tutorial just by watching the video… otherwise, just watch the video to the 1:20 mark to reveal an opt-in box 🙂
Cheers
Rob
Ps – AWtomator video events have a ‘remember me‘ option. So if you have watched for more than 10 seconds and refresh the page, you’ll get the option to continue where you left off, and if the buy button has appeared, it won’t be hidden again.

